A good backup strategy is integral to any well-functioning business that maintains digital assets. If you haven't already, at some point you will be investigating off-site storage solutions and come across Amazon's Simple Storage Service, more commonly knows as 'S3'. While it may not suit every application, S3 provides a plethora of features out of the box, is amazingly easy to scale, and has a very affordable price-point - making it a perfect tool for our general backup purposes.
As with anything, there are multiple ways to go about creating the actual backup script, we're going to use PHP and the AWS PHP SDK for portability, transparency, and because I don't like to install a package if I don't need to; but if you are interested in doing this with s3cmd - a Linux program - for transferring data to S3, see LevelsIO tutorial here: https://levels.io/backup-linode-digital-ocean-vps-amazon-s3/.
Now - let's create a backup script. You will need to have an Amazon Web Services account for this, so if you don't have one, create one now. Once you have your AWS Account, log in to your management console, and select "Services > S3" from the top menu - this will bring up your S3 Dashboard. S3 uses 'buckets' to organize and store your files - just like a 'folder', except it's called a 'bucket'; Create a new bucket for our backups now by clicking the 'Create Bucket' button, giving the bucket a name, and selecting a region.
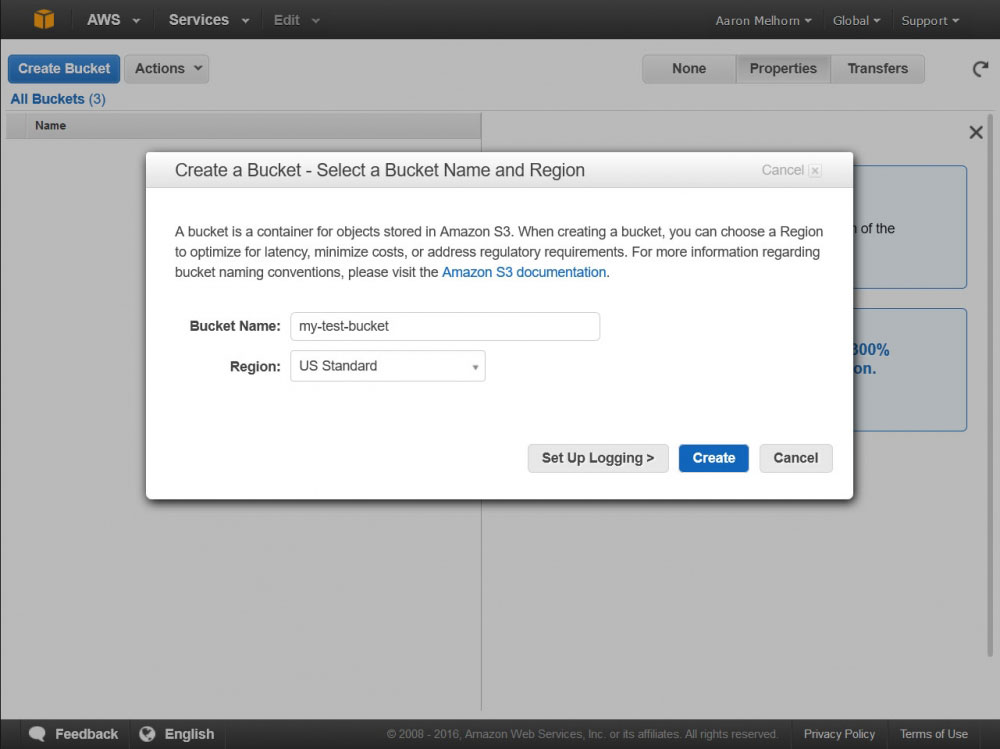 Creating a New S3 Bucket
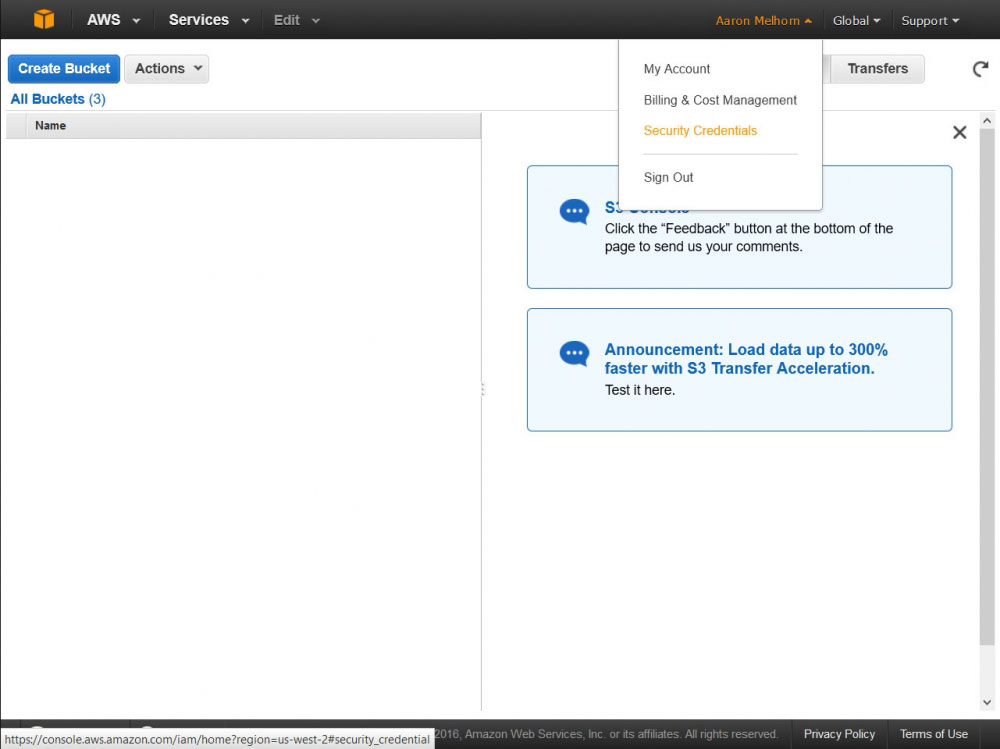 Select 'Security Credentials' from the Account menu
Once you have the new bucket created, you will need to create a new 'user' which we will use to access this bucket via the AWS API. Access your AWS User settings by clicking 'Security Policies' in the Account menu found by hovering over your name. I am going to show you how to craete a user that can access all of your S3 Buckets, but you can use customized policies to limit access to only certain functions or buckets (to say, create a put-only user that cannot view or delete your 3 items for increased security).
Once on the security credentials page, select 'Users' from the left-hand menu, and click 'Create New Users'. This will bring up a form where you can enter some username, enter a descriptive name for your user, such as 'backup-user' and click 'Create' (Make sure that 'Generate an access key for each user' is checked). You will get a page confirming the creation of your new user, with a link to 'Show User Security Credentials; Click that link and copy down the Access and Secret Key you are shown - keep them safe, as this is essentially the login information for that user.
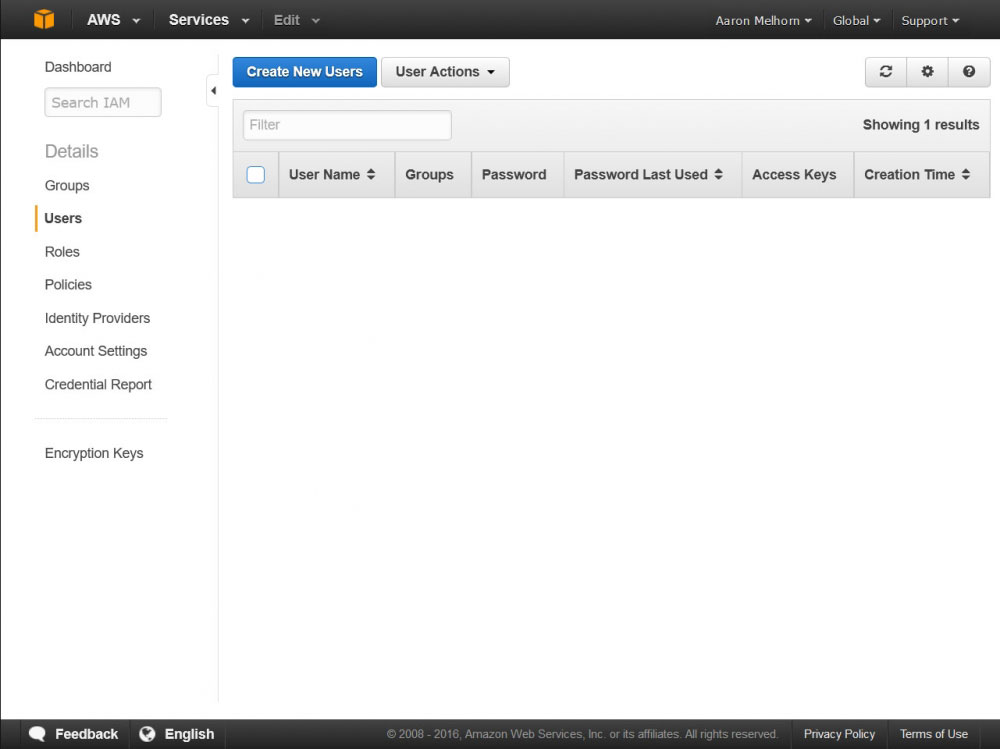 Creating a New IAM User
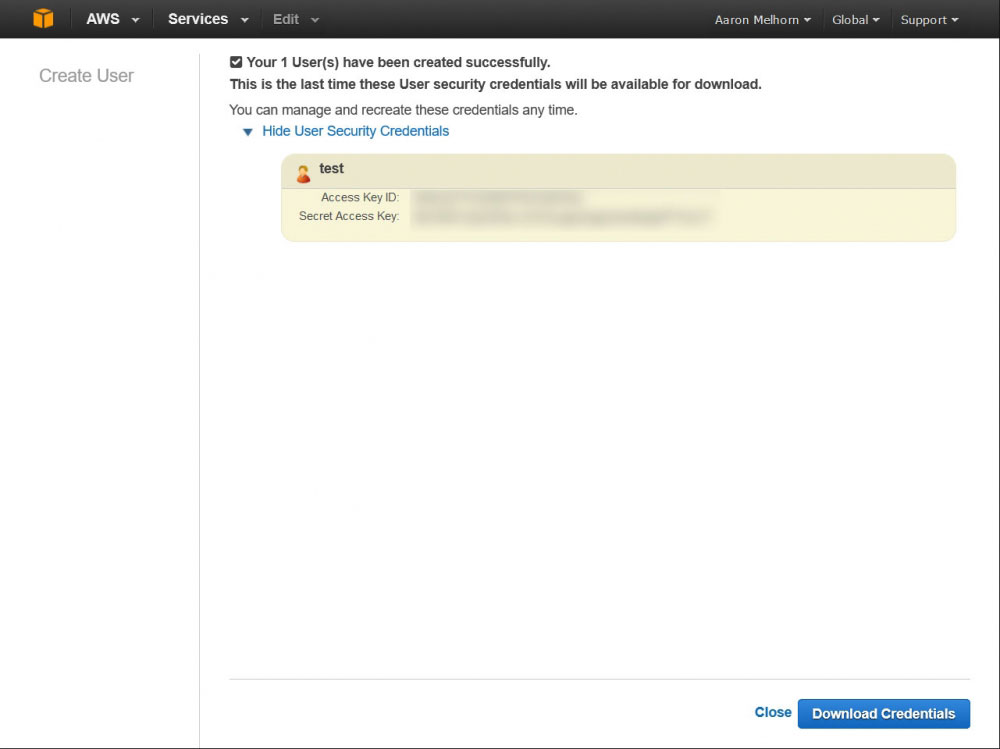 Copy down your new user's Access and Secret Keys
New users, by default, have access to nothing, so we'll need to create a Group that has access to our S3 bucket and add this user to it. Do this by clicking 'Groups' in the left-hand menu, and 'Create New Group'. Give your group a descriptive name, and click next; this page will allow you to select a policy for this group. Enter 'S3' in the search box, and select the 'AmazonS3FullAccess' policy - this will give this user full access to all of your S3 buckets, and access to all of the S3 API functions. The final step is to add the user we previously created to this new group.
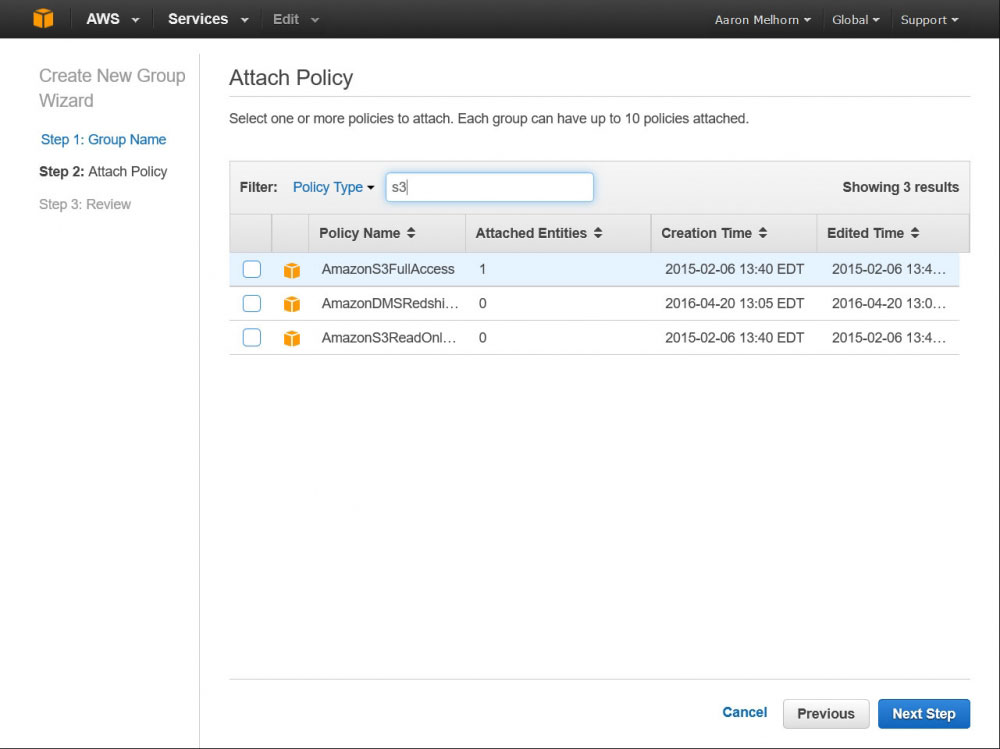 Add the AmazonS3FullAccess Policy to your Group
 Add your user to the new group you created
Once this is done - you can log out of Amazon; at this point you should have:
- AWS S3 Bucket Name
- AWS S3 Bucket Region (You can find that here)
- AWS User Access Key
- AWS User Secret Access Key
I have written this handy little script to get you started, but please feel free to customize it to your needs; the required AWS SDK for PHP is included in the package below:
Download o2_s3_backup.zip
This script will:
- Dump single, or multiple, database to the root of the backup location
- Create a Tarball of the location specified for back inside the directory of the backup script
- Transfer the Tarball to your S3 bucket using AWS Multipart Upload (to support files up to 5TB)
- Remove the SQL Dumps, and Tarball after transfer is complete
Upload the included PHP file and AWS SDK to a location outside of your server's webroot; and configure the variables at the top of the script. These lines:
$BACKUPNAME = "[Name-of-your-backup]";
$BACKUPFILELOCATION = "[full/filepath/to/the/folder/to/be/archived]";
$FOLDERSTOEXCLUDE = array('[array],[of],[folders],[to],[exclude]');
$DBUSER = "[Your-database-username]";
$DBPASS = "[Your-database-password]";
$DBSTOBACKUP = array('[array],[of],[databases],[to],[dump]');
// AWS access info
if (!defined('awsAccessKey')) define('awsAccessKey', '[aws-access-key]');
if (!defined('awsSecretKey')) define('awsSecretKey', '[aws-secret-key]');
if (!defined('awsBucket')) define('awsBucket', '[aws-bucket-name]');
if (!defined('awsRegion')) define('awsBucket', '[aws-region]');
will configure the location of the folder to be backed up, allow you to export a database, exclude files from the backup, and specify your AWS S3 bucket and credentials. The method for dumping the database uses the password on the command line, for a more secure version (if your mysql.conf is setup correctly) you may un-comment line 57; I kept the less secure version in the demo for ease of setup.
You can extend and configure this script to back up multiple webroots, send to multiple S3 buckets, or remove backups on S3 after a certain time has expired. You can find information on the base code I have in the script, and other functions available to you here - http://docs.aws.amazon.com/aws-sdk-php/v3/api/.
I would also recommend attaching this script to a CRON job, and set it to run on a regular basis; as well as adding a simple mail script that alerts you when the script is complete, or fails to upload.
And as easy as that - you have an efficient off-site, backup on almost any Linux based server. Let me know your thoughts, and if you found this useful in the comments below...

